How to Remodel a Flexible Wellness Room
By: Lexie Dy
Homeowners interested in wellness often want a consistent routine at home, but most houses
can’t spare a full-time gym, studio, and quiet retreat. The tension is real: fitness gear creeps into
living areas, recovery tools end up in closets, and relaxation gets crowded out by the visual
noise of “workout mode.” A well-planned multipurpose wellness room eases that pressure by
supporting a fitness, recovery, relaxation space in one footprint, with a flexible home gym design
that shifts with the day. The payoff is holistic home wellness that feels practical and sustainable.
Understanding a Multipurpose Wellness Room
A multipurpose wellness room is one area that supports exercise, recovery, and rest without
needing separate rooms. The core principle is flexibility: you create clear zones and simple
routines so the space can switch from movement to calm, then reset fast.
This matters because your room has to work on regular weekdays, not just on “perfect” days.
When functions are integrated and clutter stays controlled, you are more likely to use the room,
stick with habits, and actually feel relaxed afterward.
Think of it like a studio with quick-change props. A mat and bands come out for a workout, then
tuck away while poufs and floor cushions support stretching or quiet breathing. With the room’s
job defined, it’s easier to plan protections like a home warranty versus homeowners insurance.
Add a Protection Plan for Systems and Appliances During Remodels
Once you’ve defined what your wellness room needs to do, it’s worth thinking about what keeps
it reliably comfortable and functional day to day. A home warranty can fit into your remodel
planning by helping protect the systems you’ll lean on most, especially when the room is used
often for workouts, recovery, and relaxation. Heating, cooling, and electrical systems may end
up working harder with more frequent use (running fans or AC during training, powering
equipment, keeping the room at a steady temperature for downtime), and that ongoing demand
can add up as normal wear and tear over time.
With a home warranty service agreement, repairs or replacements for essential home systems may be covered, which can reduce the sting of unexpected breakdown costs while you’re settling into your new routine. If you want home warranty coverage explained simply, it can help clarify what this kind of protection typically includes.
Remodel Your Wellness Room
This process turns your goals into an easy-to-use wellness room that supports workouts and calm without constant rearranging. It’s designed for general readers who want practical decisions on layout, storage, lighting, and materials that hold up in real life.
- Tape out your activity zones first
Start by using painter’s tape to map three zones so movement, recovery, and calm each get a defined footprint. Walk through the taped paths to confirm you can enter, set up, and finish without moving furniture. Adjust the zone sizes until the room feels open, not cramped. - Build a “reset-to-zero” layout
Choose a simple anchor arrangement you can return to in two minutes: one wall stays mostly clear, one corner holds recovery items, and one seat becomes your wind-down spot. Keep your most-used workout area closest to the entry so you can start quickly on busy days. Aim for fewer, bigger pieces rather than lots of small furniture that migrates
and clutters. - Add storage that hides gear and stays reachable
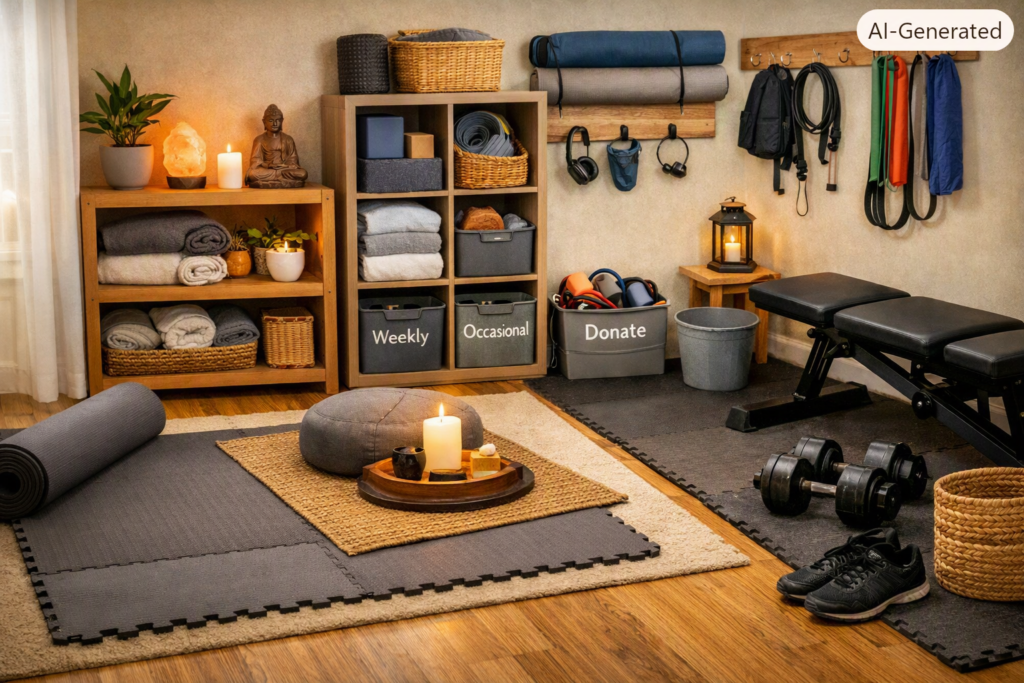
Plan storage in three layers: grab-and-go (open bin or basket), tidy but fast (closed cabinet), and occasional (top shelf). Use vertical space with hooks, a slim shelf, and a lidded hamper for towels so the floor stays open for movement. Label one bin per activity so you can put everything away without thinking. - Create workout and wind-down lighting scenes
Use layered lighting so you can switch between bright, focused light for training and softer light for stretching or meditation. Put brighter fixtures on one switch and calming lamps or dimmable bulbs on another to make “modes” effortless. If possible, choose bulbs with adjustable color temperature so the room can feel energizing by day and
soothing at night. - Choose durable, easy-clean finishes that flex
Pick flooring and wall finishes that handle sweat, water bottles, and frequent wiping without fuss, and add a large mat where impact or noise is most likely. Favor washable paint, rounded-edge furniture, and slip-resistant surfaces so the room stays safe when you are tired or moving quickly. Finish by stress-testing the space with one full workout
and one full relaxation session, then make one small tweak.
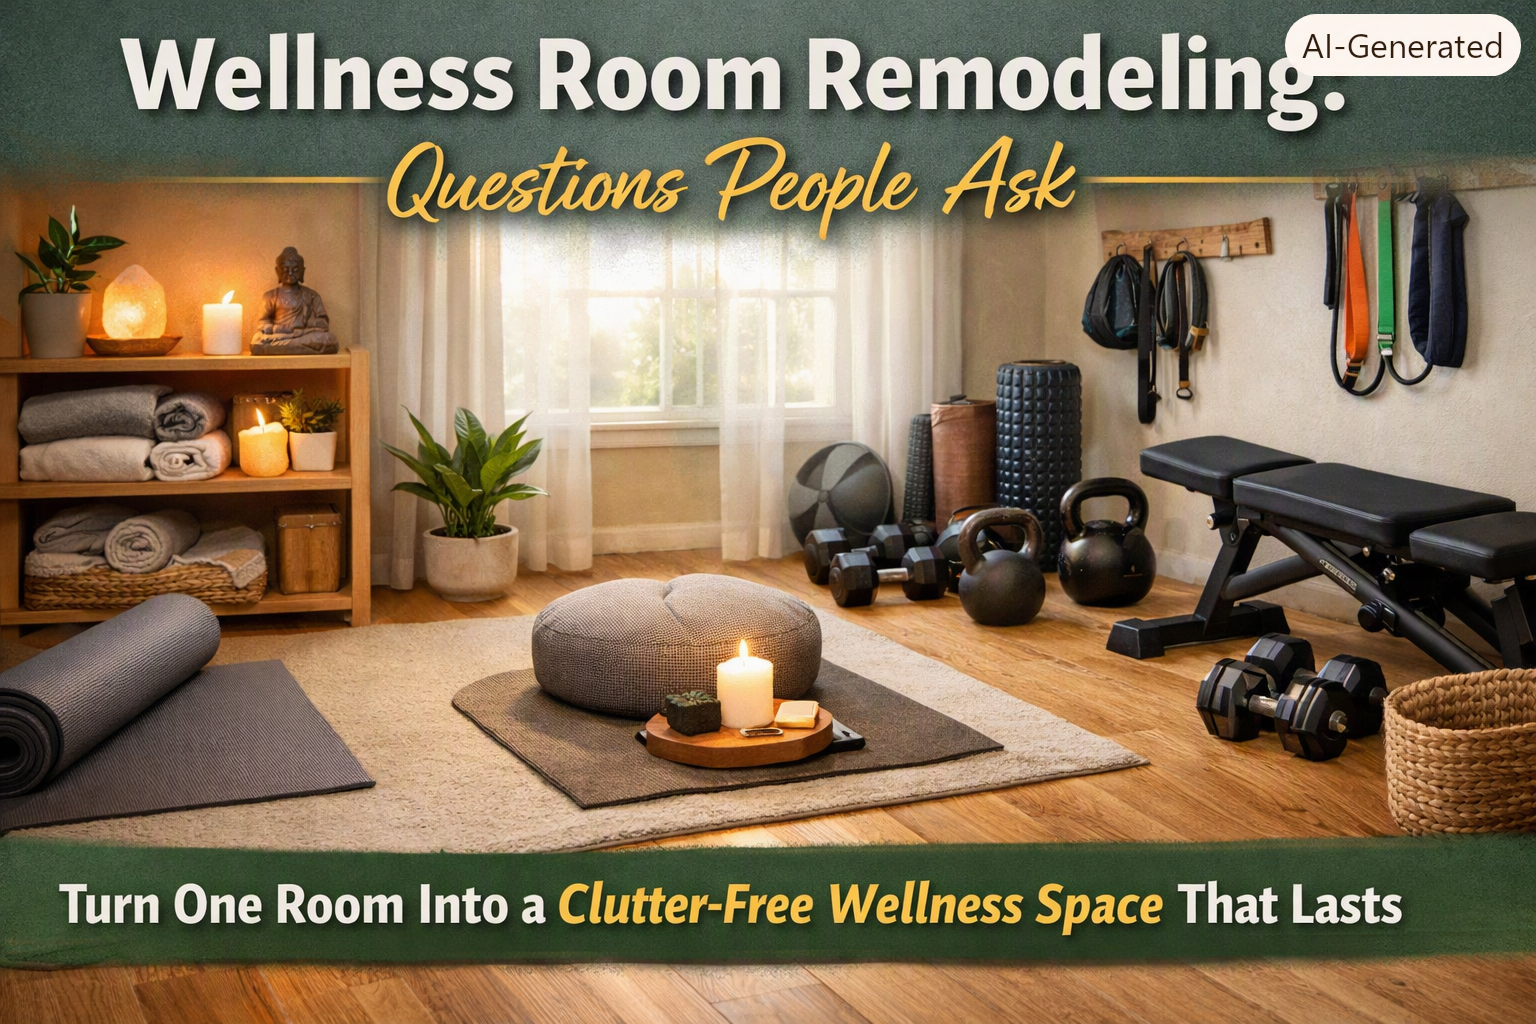
Wellness Room Remodeling: Questions People Ask
Q: What’s the most common mistake when remodeling a wellness room?
A: Trying to make every square foot do everything at once. Decide what must happen daily,
then design around those routines first. If you feel overwhelmed, tackle one goal at a time since
staying laser-focused on that one task helps you avoid half-finished setups and creeping clutter.
Q: How do I keep equipment from taking over the room again?
A: Give every item a “home” that matches how often you use it: open for daily, closed for
weekly, high storage for occasional. Keep a small donation or discard bin nearby so broken
bands, dead batteries, and unused gadgets do not linger.
Q: What can I do about noise for jumping or weights?
A: Add a thick rubber mat or layered foam tiles under impact zones and keep heavier work
away from shared walls. Weatherstripping the door and adding a fabric panel, curtain, or
bookcase can soften echo too.
Q: How often should I do maintenance so the room stays easy to use?
A: A five-minute weekly check is usually enough: tighten anything wobbly, wipe sweat-prone
surfaces, and scan for trip hazards. Using preventive maintenance checklists to reduce
emergency repairs translates well to homes because small fixes prevent bigger disruptions.
Q: Can the room adapt when my routine changes later?
A: Yes, if you keep furniture lightweight, storage modular, and at least one wall mostly open.
When priorities shift, swap one zone at a time and keep the “reset” arrangement the same so
the room still feels familiar.
Turn One Room Into a Clutter-Free Wellness Space That Lasts
It’s easy for a “wellness room” to turn into a catch-all space, too many goals, not enough
boundaries, and clutter that kills momentum. The fix is a multipurpose wellness mindset: decide
what the room must do, design for flexible use, and keep clutter-free wellness design as the
default so routines can shift without chaos.
When starting wellness room planning this way, the room supports both movement and recovery, instead of competing with your schedule. A good wellness room is defined by clear purpose, not more equipment. This weekend, you can choose the room, write the must-do functions, and set a simple two-week timeline to begin the remodel. That small start builds a steadier foundation for health, resilience, and everyday performance.
Special thanks to my guest writer, Lexie Dy! Lexie is a freelance writer who covers personal growth, wellness, and everyday strategies for living a more intentional life. I loved Lexie’s fresh take on nervous system resets and wanted to share her perspective with you. The views and product references in this post are her own.